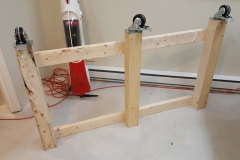
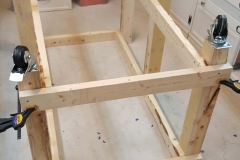
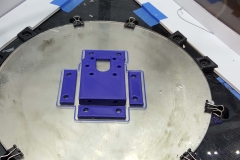
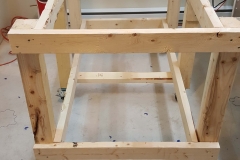
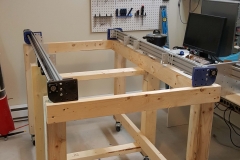
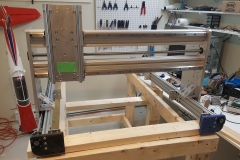
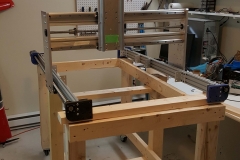
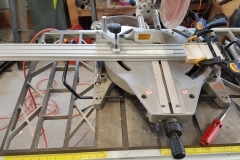
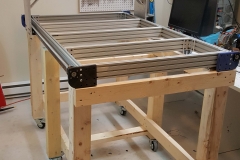
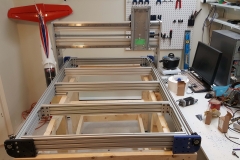
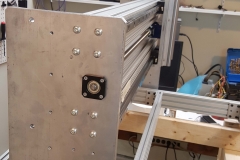
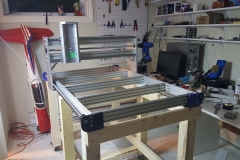
Today, I bought the wood for the under-frame (posts + wheels) in order to be able to start assembling the machine frame. After the under frame was completed, I did a quick assembly of the side rails just to confirm the length of the cross beams. I then setup a jig on my miter saw to ensure all cross beams would have the exact same length. Assembly of the frame was pretty much straightforward (as much as it can with t-nuts…) I also added 1mm shims on each carriage in order to clear the ball screw which I found was rubbing by about 0.5mm. I then manually move the Y axis over each crossmember in order to perfectly adjust the spacing between the 2 sides. I also 3D printed the X axis nut plate and it went perfectly in place. I was able to jog the X axis with a drill attached to the ball screw.
One thing that I did notice is that on the Y axis, I can ‘feel’ the balls in the blocks as I move. I will contact the seller to know if there is some kind of adjustment but this may be a case of ‘made in china’ quality…
All in all, I worked all week end of the machine and I’m quite happy about the progress. I will need to slow down this week first to clean up my garage which is a big mess right now and also take care of daily stuff that I neglected this weekend!

